We already have the facilities to add and edit impulses, within the Organisation menu option. Select the Add Impulse link and fill in the details. The key field is the BCM Pin. This obviously needs to be the pin that your switch is connected to. The controller is constantly monitoring impulse configurations in the database, in order to set up the necessary event callback hooks.
The next step is to monitor the event queue on the website Statistics page, while pressing the impulse button. As mentioned earlier, debouncing may not be sufficient defence against noise, so the controller code employs an additional lockout mechanism which prevents repeat events within 10 seconds of a button press. The main scheduler module is already optimised to keep a lookout for rules, and to process actuators, so the overall effect is that there should be reasonable response to pressing an impulse button.
The event queue is the place to track impulse events and make sure you are getting the expected results. As with Conditions, Impulses won’t be processed until there is a connected Rule and Action. Make sure you use the toggle_actuator Action Function for impulses, to get the push-on-push-off behaviour, unlike the action_actuator used previously for Conditions.
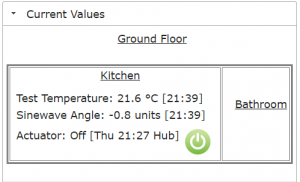
Impulses will appear as a clickable icon on the Current Values page of the website, within the Zone of their linked Actuator.

There is only one topic left on our project plan to implement – Statistics. This is covered in the next post.
